
Best Details with the Mobile Photography
Anyone can pick up an iPhone and take a picture, but what’s the result, a boring frame or an eye-catching image. It’s very easy to take great pictures if you follow some important rules of focusing, exposure, composition and photo processing. In this article, you will learn 12 basic tips for mobile photography that every photographer should know.
If you are new to mobile photography, first familiarize yourself with these 12 methods before delving further into the study, and if you are an experienced iPhoneographer, then most likely after reading this article, you will find that some of these tips are missed.
Keep your lenses clean
Your iPhone spends a lot of time in your pocket (bag, in your hands), so the camera lens becomes dirty. Dirt, dust, fingerprints disgustingly affect the quality of your photos. A clean lens will help you take sharp and clear pictures.
Wipe the lens every time you want to take a picture. Use a soft cloth to prevent damage to the lens. A microfiber cloth is perfect.
Focus
To set the focus point on the camera of your iPhone, simply tap on the screen where you want to focus. A yellow square will appear to confirm the focus point.
Once you take a sharp shot, you can improve the atmosphere of your picture by blurring the background behind the subject in focus. This can be done using a special application with mobile photography app.
Adjust exposure manually
After you set the focus point, your iPhone selects automatic exposure settings for this subject and its surrounding scene. AE does not always work correctly. For example, if the object in focus is in a dark area, you can get an overexposed (overexposed) frame or vice versa.
Starting with iOS 8, the iPhone camera has the ability to manually adjust the exposure. After selecting a focus point, the sun icon appears on the screen along with a yellow triangle. Without releasing your finger, swipe up on the screen to make the picture brighter, or down to darken the frame.
Never use zoom
The iPhone camera has a zoom function (zoom, zoom, zoom). By making a pinch gesture on the screen, you can zoom in on the desired object. Unfortunately, this is digital zoom, not optical. When you zoom in on an object, the image is cropped around the edges, resulting in poor image quality. If you want to photograph an object that is far away from you, come closer and use the camera without zoom. Or you can crop the image while editing to emphasize any image.
In the example above, initially the lighthouse and boats were far away and there was no opportunity to come closer; in the final processing, the frame was simply cropped to focus on these objects.
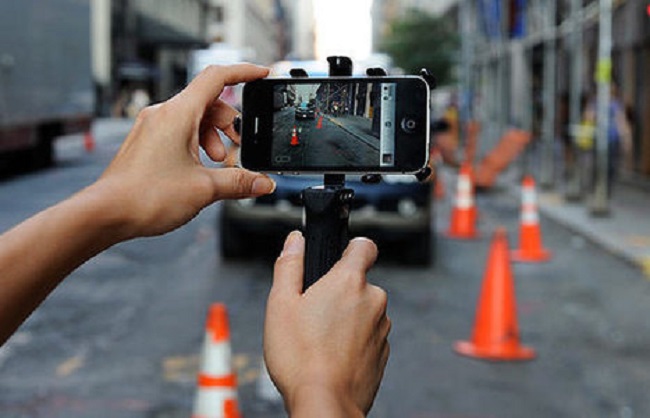
Hold the camera tighter
Keeping the camera steady and still is very important when shooting in low light and at night. At such moments, the camera sets a slower shutter speed so that as much light as possible gets on the matrix, because of this, any movement will lead to a blurred image.