
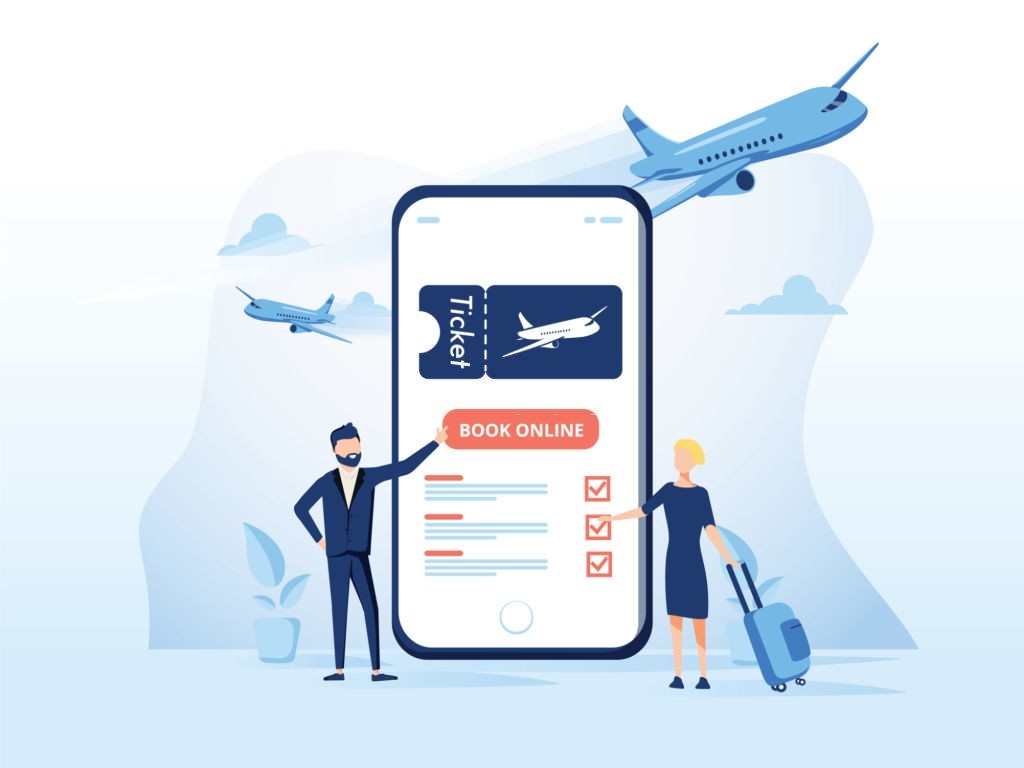
Steps to check-in for online flight travel reservations (Updated 2021)
Checking in for flights during the last hours before departure is an opportunity for everyone as well as for airlines. Hence, several airlines operating on the domestic as well as international routes to and from the country have made web check-in a priority. In simpler terms, a traveller will no longer have to wait for checking in at the kiosks in the airport and can head straight to the security check. For instance, if you want to opt for a one-way or a round trip Indigo flight booking, a travel website gives you the compulsion to complete your check-in 48 hours before the departure time. Different airline companies have set up different modes for online check-ins, and some have even made the process, a mandatory step to be taken before boarding. This makes learning about the basics of this method, an important part before heading over to the different travel websites. So, if you want to know the steps for check-in for online flight travel reservations, you can consider the list below for your guidance.
Step 1 – Visit the Web Check-in portal of the airline’s website
For instance, if you want to check in for a scheduled Indigo flight, visit the official website of Indigo. Head over to the portal link that says ‘Web Check-In’. In this regard, Intermiles can direct you straight to the airline’s web check-in page where you can conduct your flight booking.
Step 2 – Enter Booking Details
This is the part that needs to be filled with utmost precision. Booking Reference ID or the PNR number is required along with the last name at this phase. Make sure you have your Reference ID and PNR handy before checking in. Additionally, a passport number is required if it is an international flight, you are checking in for. Refrain from putting in the number provided by third-party travel agencies and stick to the booking number provided by the airline. If possible, verify the flight timing and ticket confirmation well beforehand.
Step 3 – Add the Luggage and in-flight refreshments
This is where you get to add the number of bags you would be carrying for the flight. Luggage tags are generated according to the details entered at this point of check-in. For instance, if you miss out on a bag or two while booking your tickets, this is where you can rectify and add bags to your list. All flight booking allows a maximum of two bags per traveller, but more luggage tags can be bought at additional rates if required. Now, if it is only a small duffle bag or a handbag that you are carrying, then baggage tags are generated accordingly. Thanks to web check-ins, you will not have to wait in long queues at the kiosk and can head over directly to the bag-drop section. Web check-ins also allow a range of in-flight meals available for booking before the departure. This ensures food delivery right at your seat with a large range of options to choose from.
Step 4 – Select your Passenger Seat
While booking tickets, seats are auto-assigned and this applies to both the railways and the airways. However, with the facility of checking in online, you have the liberty to change your auto-assigned seat to one of your choices. Often, some airlines will require you to pay an additional amount to change your seats. This is done to ensure that both parties are benefitted from the system. Again, if you want to upgrade your travel experience with the airlines, web check-in gives you the option to change from Economy to Business at additional rates. A good example of this is that of the Indigo flights where they allow you to change seat standards during online check-in or after having boarded the flight. However, this deal is subject to the availability of seats that match your choice. If you are booking flights through Intermiles, you might also land upon exciting on-site deals applicable to your choice.
Step 5 – Choose from the Given Layout of the Seating Area
Upon selecting the option for upgrading or changing seats, you will be directed to the layout of the seats in your flight with the unbooked ones being marked clearly. Select the seat as per your choice. If it is a long flight and you are planning to sleep while flying, a window seat is more than enough to complement your deep sleep. Thus, choose a free seat properly and then, head over for confirmation.
Step – 6 Fill in the Mandatory Health Declaration
The raging pandemic has given rise to the authorities having to take steps that are solely focused on the safety of the passengers and the crew members on the flight. The Mandatory Health Declaration is a form where you will be required to submit your particulars, along with your travelling information (if any) in the last fortnight. This is an important step before boarding the flight. Some states and countries require a health permit for you to enter there as a temporary resident and this information is available on the check-in portal itself. If applicable, fill in the details of your stay and carry a printout for boarding.
After going through all these steps, confirm your check-in and you will be redirected to your e-Boarding Pass and e-Luggage Tags. Make sure to carry a printout of the boarding pass and the duly filled Health Declaration form and you will be exempted from the chaos of checking in at the airline kiosks. Web check-ins can be done from anywhere provided you have a stable internet connection and your booking details are handy. This makes your flying experience a smooth and flawless one.